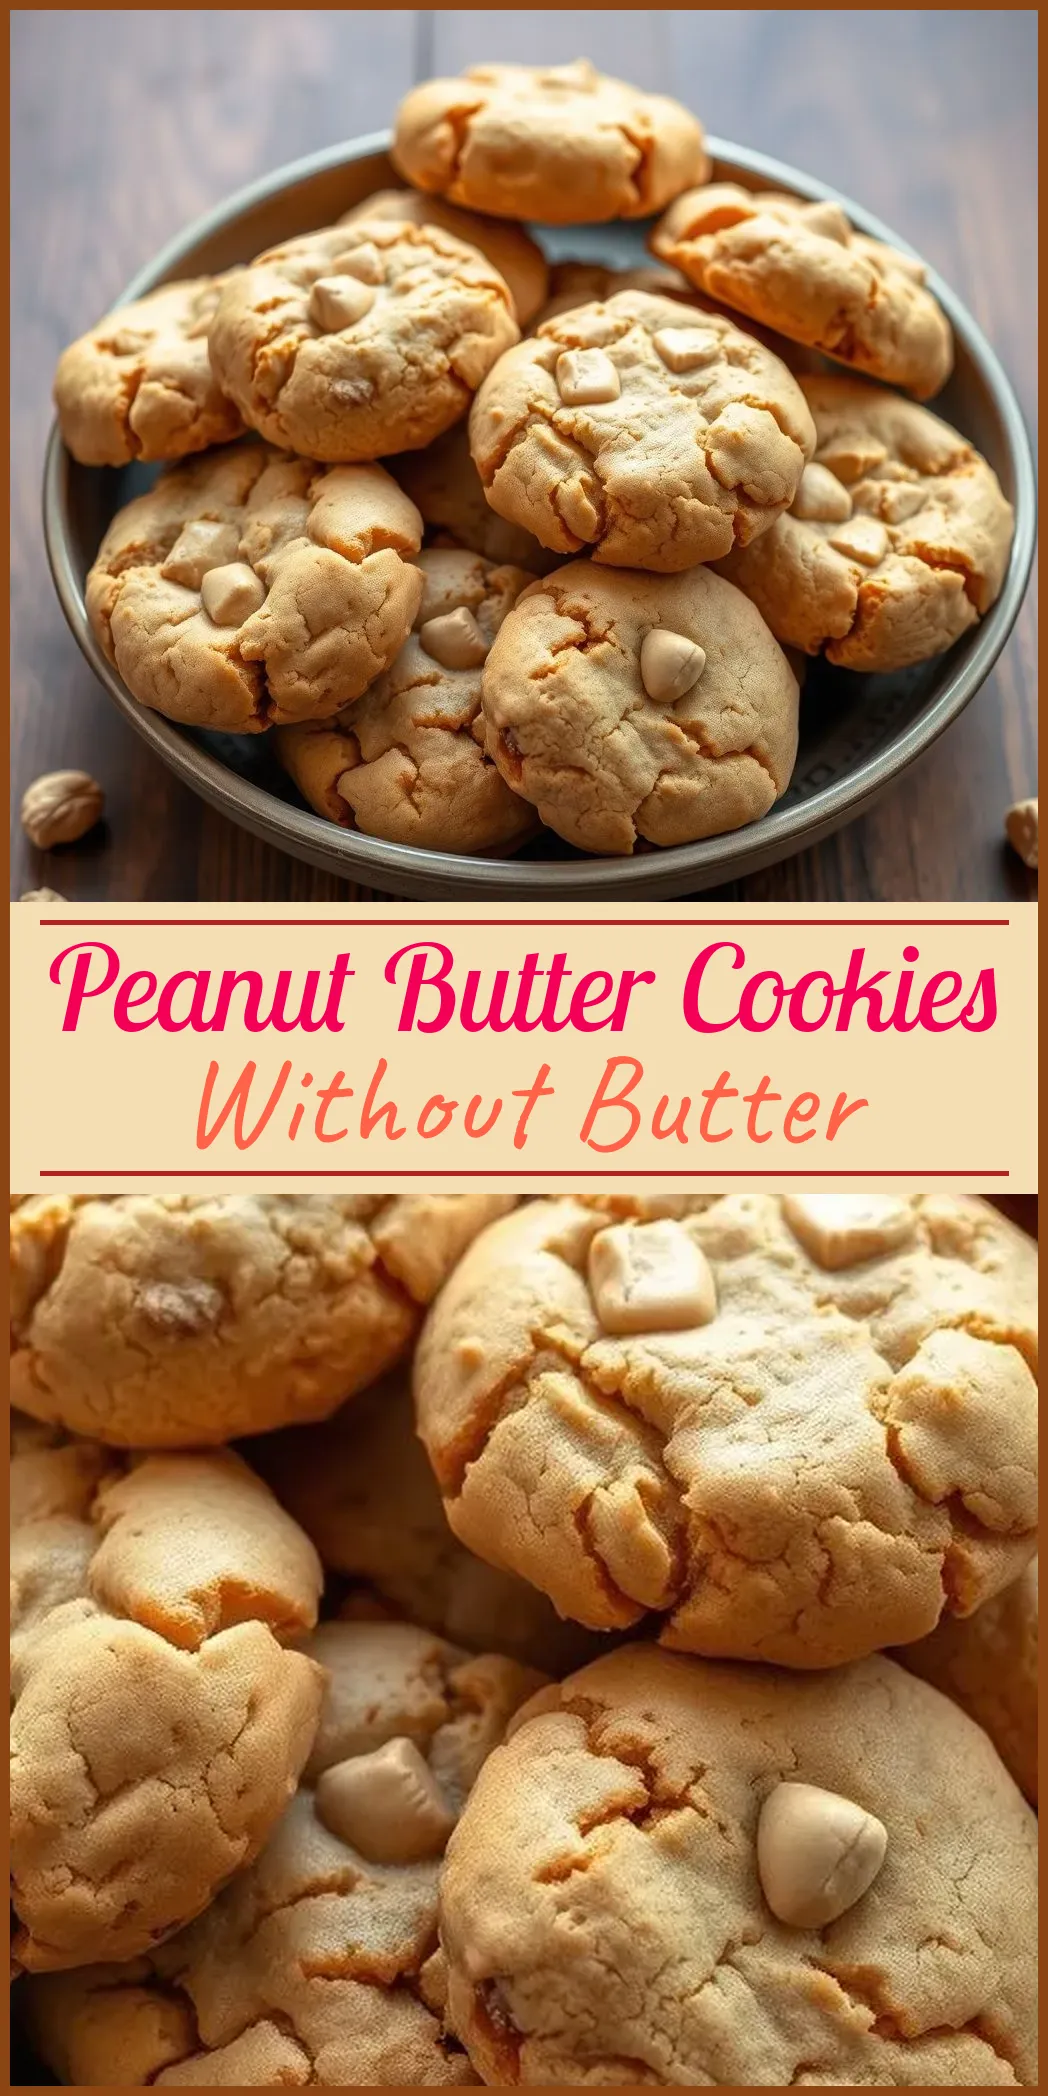
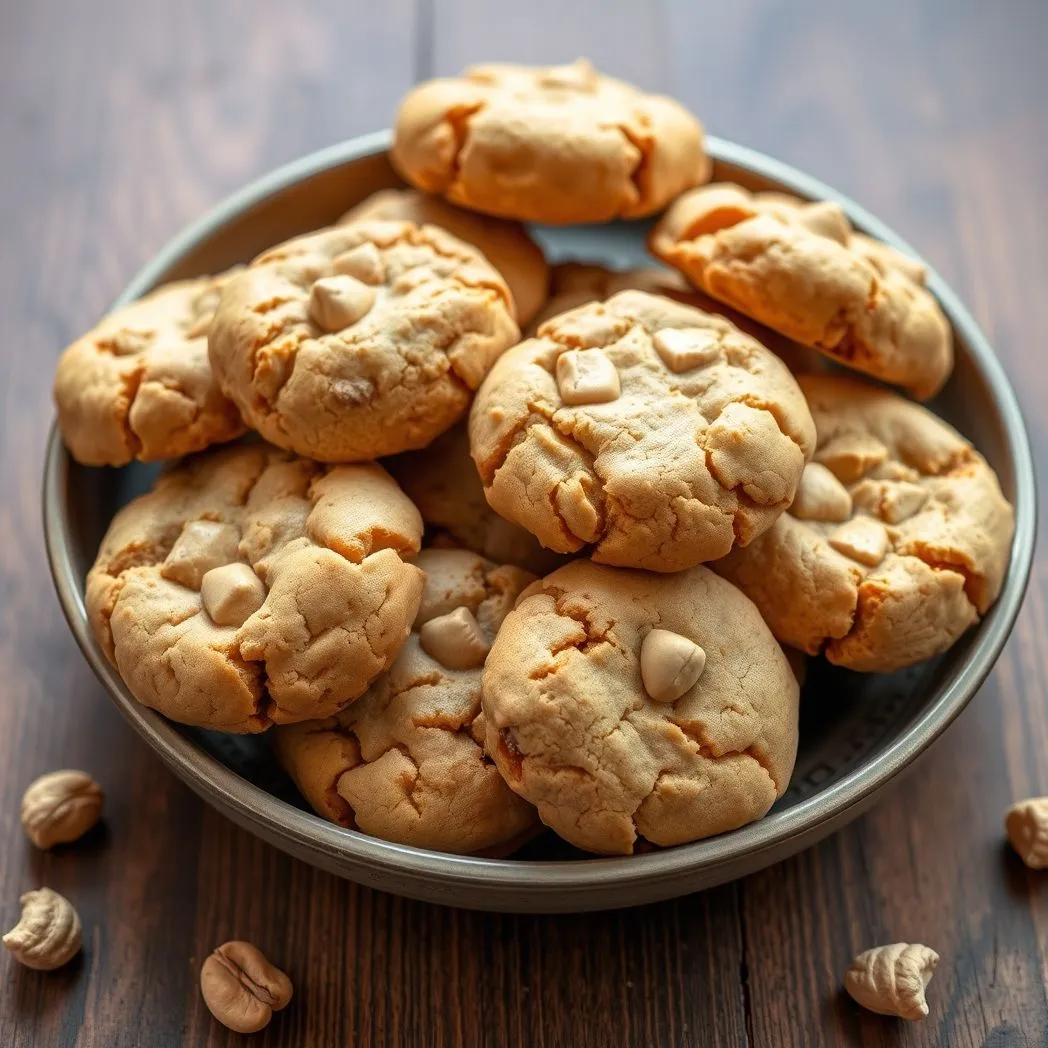
Discover a fresh take on a classic treat. These peanut butter cookies are a healthy, dairy-free, and gluten-free dessert option that relies on quality ingredients rather than traditional butter. In this recipe, we explore every detail to help you create cookies that are soft, chewy, and full of nutty flavor. Let’s dive into the world of peanut butter cookies without butter.
About These Cookies
Peanut butter cookies without butter redefine comfort baking. They are perfect for those embracing a gluten-free or dairy-free lifestyle. Instead of butter and flour, this recipe uses simple ingredients that bind beautifully to create the perfect cookie texture.
These cookies have a unique, natural texture because they rely on the oils present in natural peanut butter. They are easy to make and require minimal ingredients, so they work well for both novice and experienced bakers.
Ingredients and Setup
Before you begin, gather everything you need. Using high-quality, all-natural ingredients is essential to capture the robust peanut flavor. Here’s what you need:
- Peanut Butter: Choose natural peanut butter. It can be creamy or crunchy as long as it has no added ingredients.
- Sugars: A combination of brown and granulated sugar balances moisture and sweetness.
- Eggs: They bind the ingredients well. You can replace them with a flaxseed substitute if needed.
- Baking Powder: Provides the necessary lift for a light texture.
- Salt: A pinch enhances the flavors. Omit if your peanut butter is already salted.
- Vanilla Extract: Enhances the overall taste. Ensure it is gluten-free if that is a concern.
Equipment Checklist
- Mixing Bowl: A large bowl for the batter.
- Cookie Scoop: Useful for shaping uniform dough balls.
- Fork: To create a decorative pattern on cookie tops.
- Baking Sheet: Greased with oil, widely spaced for cookies to expand.
- Wire Rack: For cooling cookies to perfection.
- Measuring Cups and Spoons: For accuracy in every ingredient.
Step-by-Step Instructions
Follow these simple steps to create delicious peanut butter cookies without butter. The process ensures gentle handling of the batter, preserving the cookie’s delicate texture and flavor.
Step 1: Preheat and Prepare
- Preheat your oven to 350°F (175°C). A preheated oven helps the cookies bake evenly.
- Prepare your cookie sheets: Lightly grease them with oil or a butter substitute. You can also use parchment paper to avoid sticking.
Step 2: Mix the Ingredients
Create the base of your cookie dough with these careful steps:
1. Combine Sugars and Peanut Butter: In your mixing bowl, add the peanut butter, brown sugar, and granulated sugar. Stir until the mixture appears smooth.
2. Add Eggs One at a Time: Incorporate each egg slowly. Beat well after adding each egg. For an egg-free version, mix 2 tablespoons of ground flaxseed with 5 tablespoons of water. Allow it to sit for 10 minutes until it reaches a jelly-like consistency.
3. Incorporate the Rest: Add the baking powder, a pinch of salt, and vanilla extract. Stir just enough to blend these ingredients evenly without overmixing.
Step 3: Shape the Cookies
- Scooping the Dough: Use a cookie scoop to form 1-inch balls. Place them about 2 inches apart on the baking sheet. This gives each cookie room to expand.
- Decorative Indentations: Press a fork gently into each ball to make an attractive pattern. For an extra touch, dip the fork in water or granulated sugar before making the marks. This step not only decorates but also helps set the cookie surface.
Step 4: Bake to Perfection
- Baking Time: Place the cookies in the preheated oven. Bake for 8 to 10 minutes. Check the cookies toward the end of the baking time. They should look set on the edges while remaining slightly soft in the middle.
- Cooling: Once baked, remove the cookies from the oven. Let them cool on the baking sheet for 5 minutes, then transfer to a wire rack. This cooling phase is crucial as it allows the cookies to firm up without losing their tender texture.
Tips for Perfect Cookies
Making these cookies might seem simple, but a few insider tips ensure every batch comes out perfectly.
- Avoid Overmixing: Handle the batter gently. Overmixing can lead to tough cookies.
- Select Natural Peanut Butter: Natural peanut butter retains its oils and provides the moisture needed for soft cookies. Always choose one without added sugars or hydrogenated fats.
- Customize Your Sweetness Level: If you prefer a sweeter cookie, consider lightly rolling the dough balls in granulated sugar before baking.
- Monitor Baking Time: Baking times may vary with your oven. Check your cookies at the 8-minute mark. For a chewier texture, aim for the lower end; for crunchier cookies, let them bake a little longer.
- Egg Substitution: For vegan alternatives or if you’re out of eggs, experiment with a flaxseed mixture. This substitute works well in binding the ingredients together while keeping the cookies moist.
Variations and Additions
Feel free to experiment with flavors and add extra layers of texture. Here are a few ideas:
- Chocolate Chips: Fold in about ½ cup of mini chocolate chips into the dough for a rich contrast.
- Chopped Nuts: Add a handful of chopped almonds or walnuts to boost the nutty taste.
- Other Nut Butters: Experiment with almond or cashew butter for a different flavor profile.
- Less Sugar: If you’re counting carbs or prefer a less sweet treat, reduce the sugar by a couple of tablespoons.
- Extra Rich Flavor: Try adding a teaspoon of cinnamon or a pinch of nutmeg to give a warm spice note to your cookies.
Storage and Freezing Instructions
Proper storage preserves the freshness and texture of your cookies. Follow these guidelines based on how quickly you plan to enjoy your treats.
Storing at Room Temperature
- Airtight Container: Place fully cooled cookies in an airtight container.
- Shelf Life: They will stay fresh for up to 5 days at room temperature.
Refrigeration
- Extended Freshness: Store cookies in the fridge in an airtight container.
- Duration: They can last up to 2 weeks. Bring them to room temperature before serving for the best texture.
Freezing Steps
- Preparation: Cool the cookies completely.
- Layering: If stacking cookies, separate layers with parchment paper.
- Freezer-Safe Container: Seal in a freezer-safe container or bag.
- Thawing: Let cookies thaw in the fridge overnight or on the counter for a few hours before eating.
- Make-Ahead Option: You can even freeze the pre-shaped dough balls on a baking sheet for 1 hour. Then transfer them to a freezer-safe bag for up to 2 months. Bake directly from frozen, adding 2 to 4 minutes extra to the baking time.
Frequently Asked Questions
Will the cookies spread too much?
These cookies are designed to hold their shape due to the thick and natural texture of the peanut butter. If your kitchen is warm, or the dough feels too soft, you can chill the balls for 30 minutes before baking.
Can I use sweeteners other than sugar?
Yes, you can try alternative sweeteners like coconut sugar or a blend of stevia and sugar. The result may vary slightly in texture and taste. Experiment with small batches to find the right balance.
What if I don’t have a cookie scoop?
You can use a tablespoon to portion the dough. Try to keep each portion as uniform as possible. This ensures even baking across all cookies.
How does this recipe stay gluten-free?
This recipe relies on peanut butter and eggs for structure instead of flour. Always check the other ingredients, like vanilla extract, to ensure there are no hidden gluten sources.
Baking should be a joyful exploration of flavors and techniques. These peanut butter cookies without butter offer a creative and health-conscious twist on traditional cookies. The recipe is forgiving and allows for many creative variations. Whether you choose to add chocolate chips, experiment with different nut butters, or simply enjoy them plain, these cookies promise a delicious treat.
By using natural, wholesome ingredients and following simple steps, you can achieve a rich, nutty flavor with each bite. The process empowers you as a baker by giving you flexibility in ingredients and decoration, ensuring that every cookie you bake reflects your own personal touch.
Remember, quality matters as much as creativity. From the choice of peanut butter to the care taken in mixing the batter, every step contributes to the final product. Enjoy the process and, most importantly, share these delightful cookies with friends and family. They are not only a treat for the taste buds but also a testament to the art of baking without conventional ingredients.
Keep this recipe handy for those days when you want something sweet yet simple. Explore the variations and tweak the recipe to suit your dietary needs. With this guide, you have everything you need to bake a perfect batch of peanut butter cookies without butter.
Happy baking!
Peanut Butter Cookies Without Butter
Sure, please provide the text you would like me to rewrite.
Ingredients
- 1 pinch of salt
- 2 eggs
- 2 cups peanut butter
- 1 teaspoon vanilla extract
- 1 teaspoon baking powder
- 1 cup granulated sugar
- 1 cup brown sugar
Instructions
- Preheat the oven to 350 degrees Fahrenheit. Grease the cookie sheets with oil or butter. Alternatively, line them with a silicone mat, parchment paper, or aluminum foil.
- Stir the peanut butter together with the granulated and brown sugars in a bowl until smooth. Beat in the eggs, one at a time. Stir in the baking powder, salt, and vanilla. You can expect a firm dough.
- Using a cookie scoop, form the dough into 1-inch balls. Place the balls on the prepared cookie sheets, making sure they are 2 inches apart. Create a crisscross indentation by pressing a fork into the balls horizontally, then vertically.
- Bake for 8 to 10 minutes. Let the cookies cool on the cookie sheets for 5 minutes. Then, cool them completely on a wire rack.