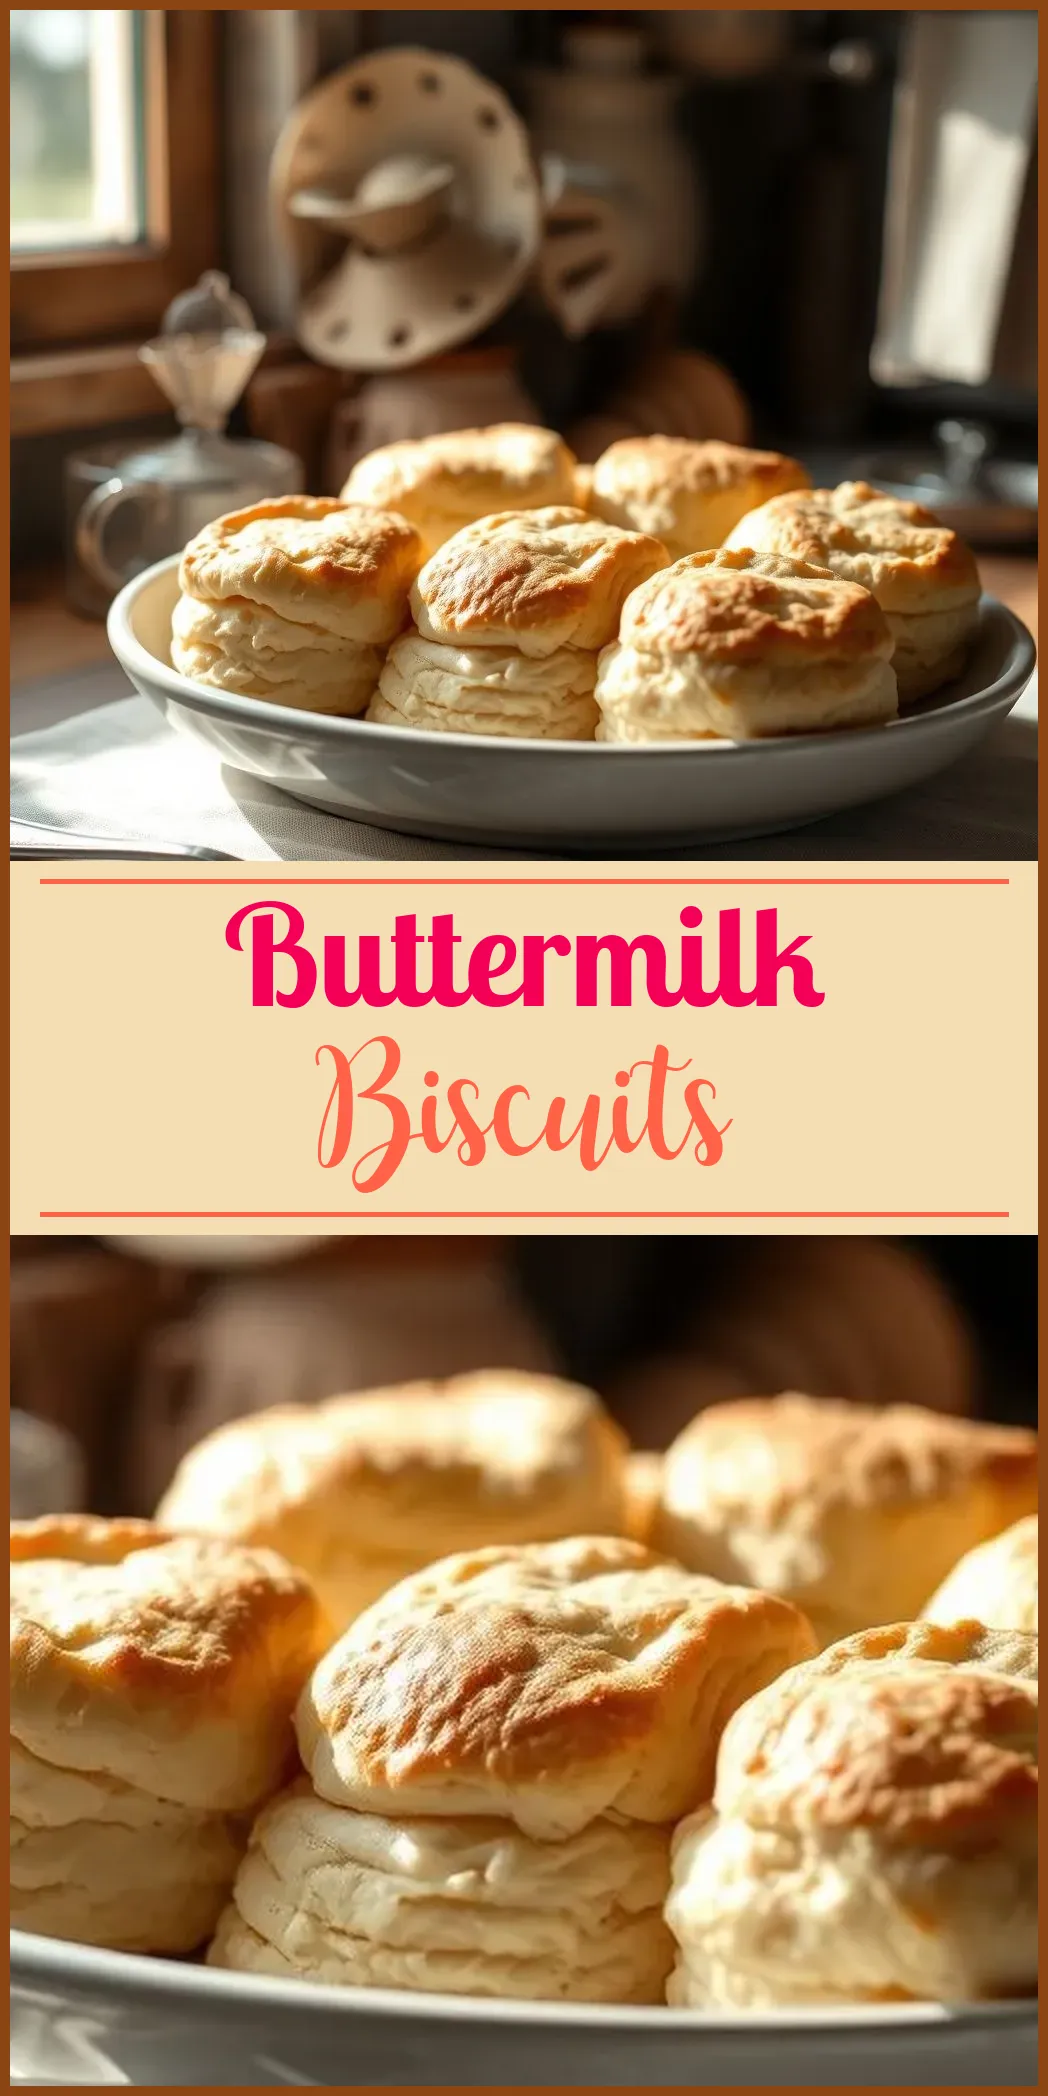
Discover the comforting charm of homemade buttermilk biscuits—a Southern classic that transforms any meal. In this article, we provide a detailed yet engaging guide designed to walk you through every step of making delicious, flaky biscuits right from your kitchen. Whether you are a novice baker or a seasoned cook, this recipe promises to deliver mouth-watering biscuits with minimal fuss. Read on to explore the essential ingredients, step-by-step instructions, expert tips, and creative serving ideas to bring out the best in your buttermilk biscuits.
The Story Behind Buttermilk Biscuits
Buttermilk biscuits have deep roots in Southern cuisine. They were born out of resourceful cooking, where simple ingredients combined to create a dish that exudes warmth and satisfaction. The tradition continues, as families have perfected the art of folding cold butter into buttermilk-laced dough—achieving layers that are both light and rich. Today, these biscuits are a testament to culinary ingenuity. Every bite carries hints of history, love, and home-cooked goodness.
Why Homemade Is Better
Commercial biscuits often lack the flare and tenderness that homemade versions offer. By making your own, you control the quality of fresh ingredients and adjust the recipe to suit your taste. The process is simple, straightforward, and immensely rewarding. When you see the golden crust and feel the delicate layers in every bite, you’ll understand why many regard homemade buttermilk biscuits as an unbeatable treat.
Essential Ingredients and Their Roles
Creating the perfect biscuit starts with high-quality ingredients. Here’s a breakdown of what you’ll need and why each contributes to the final product:
- All-Purpose Flour: The base that forms a sturdy, yet tender structure.
- Baking Powder & Baking Soda: These leavening agents uplift the dough, ensuring a light and airy texture.
- Salt: Enhances the flavor and balances the biscuit’s overall taste.
- Granulated Sugar: Adds a hint of sweetness and aids in browning the crust.
- Cold Unsalted Butter: Creates flakiness; the cold butter produces steam when baked, forming layers that melt in your mouth.
- Buttermilk: Infuses the dough with tanginess and moisture, and interacts with the leavening agents to develop a soft crumb.
Each of these ingredients plays a crucial role. For instance, using cold butter is essential. When cold butter is cut into the flour, it creates small pockets that expand in the oven, lending the biscuits their signature flakiness. Similarly, buttermilk not only tenderizes the dough but also provides that subtle tangy flavor characteristic of Southern biscuits.
Step-by-Step Instructions
Follow this detailed method to achieve biscuits that are both visually appealing and delectably soft.
1. Prepping Your Ingredients
Begin by gathering all your ingredients. Pre-measure them and have your tools ready. This includes a large mixing bowl, a pastry cutter (or your fingertips), a fork, and a clean surface dusted with flour. Preheat your oven to 425°F (218°C) and line a baking sheet with parchment paper.
2. Combining Dry Ingredients
In your mixing bowl, add the all-purpose flour, baking powder, baking soda, salt, and sugar. Whisk these together until evenly distributed. This step guarantees an even rise throughout your biscuits and a consistent flavor profile in every bite.
3. Incorporating the Butter
Cut the cold unsalted butter into small cubes. Add these pieces to your dry ingredients. Using a pastry cutter or your fingertips, work the butter into the flour until your mixture resembles coarse crumbs. This process is crucial; treat it gently. The larger the butter pieces remain, the better the resulting texture of your biscuits.
4. Mixing in the Buttermilk
Create a small well in the center of your dry mixture. Pour in the buttermilk slowly, stirring with a fork until the dough just comes together. Do not overmix. The dough should look shaggy and slightly irregular. Overmixing can lead to tough biscuits, which is not what we want.
5. Folding the Dough for Layers
Turn your dough out onto a lightly floured surface. Gently form it into a rectangle approximately 1/2-inch thick. Fold the dough into thirds like a letter. This folding process creates layers that yield the best flakiness. Rotate the dough and repeat the folding process two more times. Remember: treat the dough lightly to keep the layers intact.
6. Cutting and Shaping
After folding, gently press the dough to achieve an even layer of about 3/4-inch thickness. Using a 2 1/2-inch round biscuit cutter, stamp out your biscuits. Press down sharply without twisting; twisting can seal the edges, affecting the rise.
- Tip: Gather the scraps, re-roll them, and cut additional biscuits. This ensures that every bit of dough is put to good use.
Place the biscuits close together on your prepared baking sheet. When biscuits are near each other, they push against one another, rising higher and forming a thicker, more satisfying biscuit.
7. Baking to Perfection
Brush the top of your biscuits with a little extra buttermilk. This adds a slight gloss and assists in browning. Bake in your preheated oven for 15 to 17 minutes, or until the edges are a beautiful golden brown. Keep a watchful eye during the last few minutes to prevent overbrowning.
8. Finishing Touches
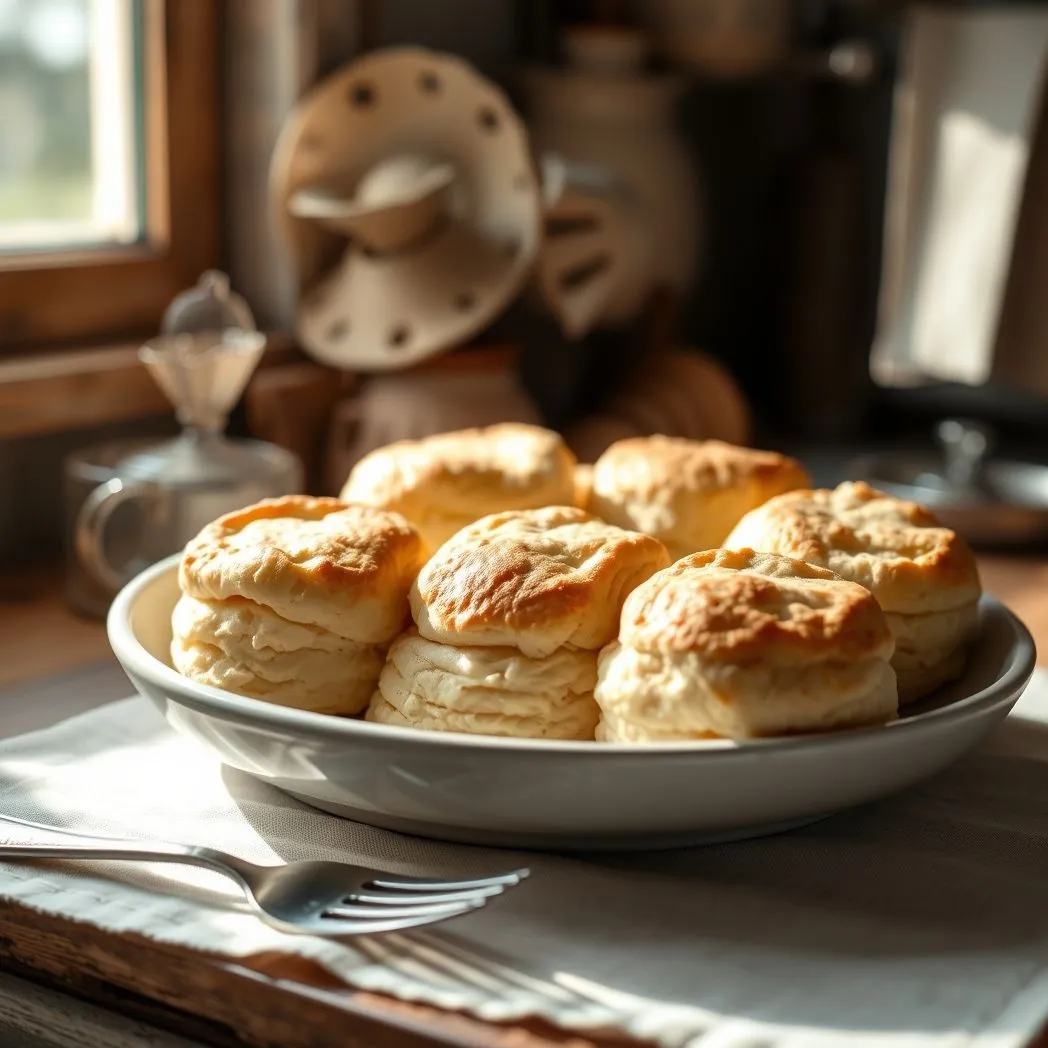
Remove the biscuits from the oven and immediately brush them with melted butter. The hot butter melts into the layers, creating an irresistible aroma and adding additional flavor. Let them rest briefly on a rack, then enjoy while they are warm and soft.
Expert Tips for Best Results
Achieving consistently high-quality buttermilk biscuits involves attention to detail. Here are some tried-and-true tips:
- Keep Ingredients Cold: Refrigerate your butter and buttermilk until ready for use. For extra flakiness, you can freeze the butter for an additional 10-15 minutes.
- Minimal Handling: When mixing and folding, avoid overworking the dough. A light touch preserves the chalky structure needed to trap steam and create layers.
- Freezing for Flakiness: After cutting, place the biscuits in the freezer for 10 minutes before baking. This small step can result in an even fluffier biscuit.
- Consistent Size: Use a sharp, round cutter to ensure uniform size. This helps in even baking and presentation.
Creative Serving Suggestions
Buttermilk biscuits offer immense versatility. Serve them warm, so they retain their soft, buttery layers. Here are some ideas to elevate your meal:
- Breakfast: Top your biscuit with scrambled eggs, crispy bacon, or a drizzle of honey. For a Southern twist, add sausage gravy.
- Lunch: Pair your biscuits with a bowl of tomato soup or a hearty chicken salad.
- Dinner: Use them as the base for a savory sandwich or alongside barbeque brisket.
- Snack: Enjoy them plain or with a spread of fruit preserves for a light, delectable treat.
These biscuits are not just a side dish but can become the star of your meal. Experiment with your favorite toppings to find a perfect combination that excites your palate.
Storage and Reheating
It is common to have leftover biscuits, and here’s how to store them properly:
- Room Temperature: Place cooled biscuits in an airtight container or resealable bag. They can stay fresh for up to 2 days.
- Refrigeration: Save them in the fridge for up to a week. Ensure they are well-wrapped to avoid drying out.
- Freezing: Wrap each biscuit in plastic wrap before placing them in a freezer-safe bag. They can last up to 3 months in the freezer.
- Reheating: For the best texture, reheat the biscuits in a 350°F (175°C) oven for 5-7 minutes. You may also microwave them for 10-15 seconds on high, keeping in mind that microwaving may alter the flakiness slightly.
Nutritional Insights
While these biscuits are indulgent, they can be incorporated into a balanced diet with a few tweaks. Experiment with whole wheat flour in place of all-purpose flour for added fiber, or reduce the sugar slightly. Nutritional modifications can make this recipe a healthier option without compromising the delicious texture and flavor.
Buttermilk biscuits are more than just a recipe; they embody a rich culinary tradition that brings people together. The aroma of freshly baked biscuits invites memories of warm family gatherings and simple home-cooked meals. With this comprehensive guide, you can easily recreate these delights on your own and enjoy them any time of the day.
This recipe combines simplicity and technique. The careful folding process, attention to temperature control, and proper use of ingredients result in biscuits that are crisp on the outside and tender on the inside. Every step has been crafted to ensure you have a rewarding baking experience and a delicious result that tastes like a slice of home.
Feel free to experiment. Adjust the butter ratio for a richer flavor or add herbs for an extra twist. Your variations can make the recipe uniquely yours. Enjoy the process, savor the flavors, and share your creation with friends and family. Your kitchen becomes a canvas where tradition meets innovation, and every biscuit tells a story.
Above all, let your passion for cooking shine through. Whether you stick to the classic recipe or explore creative alterations, the journey from mixing bowl to golden biscuit is one of joy and culinary adventure.
Happy baking!
Buttermilk Biscuits
These easy buttermilk biscuits only require 7 ingredients. They come together in less than 30 minutes! In no time, you’ll have a hot, buttery, Southern treat.
Ingredients
- 1 tablespoon baking powder
- 2 teaspoons granulated sugar
- 2 1/2 cups all-purpose flour, plus more for dusting
- 1 cup cold buttermilk, plus 2 tablespoons for brushing tops
- 1 teaspoon salt
- 1/2 teaspoon baking soda
- 1/2 cup (1 stick) very cold unsalted butter, cut into small cubes
Instructions
- Preheat the oven to 425 degrees Fahrenheit. Line a baking sheet with parchment paper.
- In a large bowl, whisk together the flour, baking powder, baking soda, salt, and sugar. Mix until combined.
- Add the cold cubed butter to the flour mixture. Using a pastry cutter or your fingertips, cut the butter into the flour. Continue this process until the mixture resembles coarse crumbs. There should be some pea-sized pieces remaining.
- Make a well in the center of the flour mixture. Pour in 1 cup of the cold buttermilk. Use a fork to gently stir. Mix until the dough comes together into a shaggy mass. Do not overmix.
- Turn the dough out onto a lightly floured surface. Gently bring it together into a rough rectangle about 1/2 inch thick. Fold the dough into thirds like a letter. Then, pat it back out into a 1/2-inch thick rectangle. Repeat the folding process two more times. This will create layers.
- After the final fold, pat the dough out to a thickness of 3/4 inch. Using a sharp 2 1/2-inch round biscuit cutter, cut out biscuits. Place the biscuits close together on the prepared baking sheet. Gently re-roll the scraps and cut out additional biscuits.
- Brush the tops of the biscuits with the remaining 2 tablespoons of buttermilk. Bake for 15 to 17 minutes. The biscuits are done when the tops are golden brown.
- Remove the biscuits from the oven. If desired, brush the hot tops with melted butter. Serve warm and enjoy!