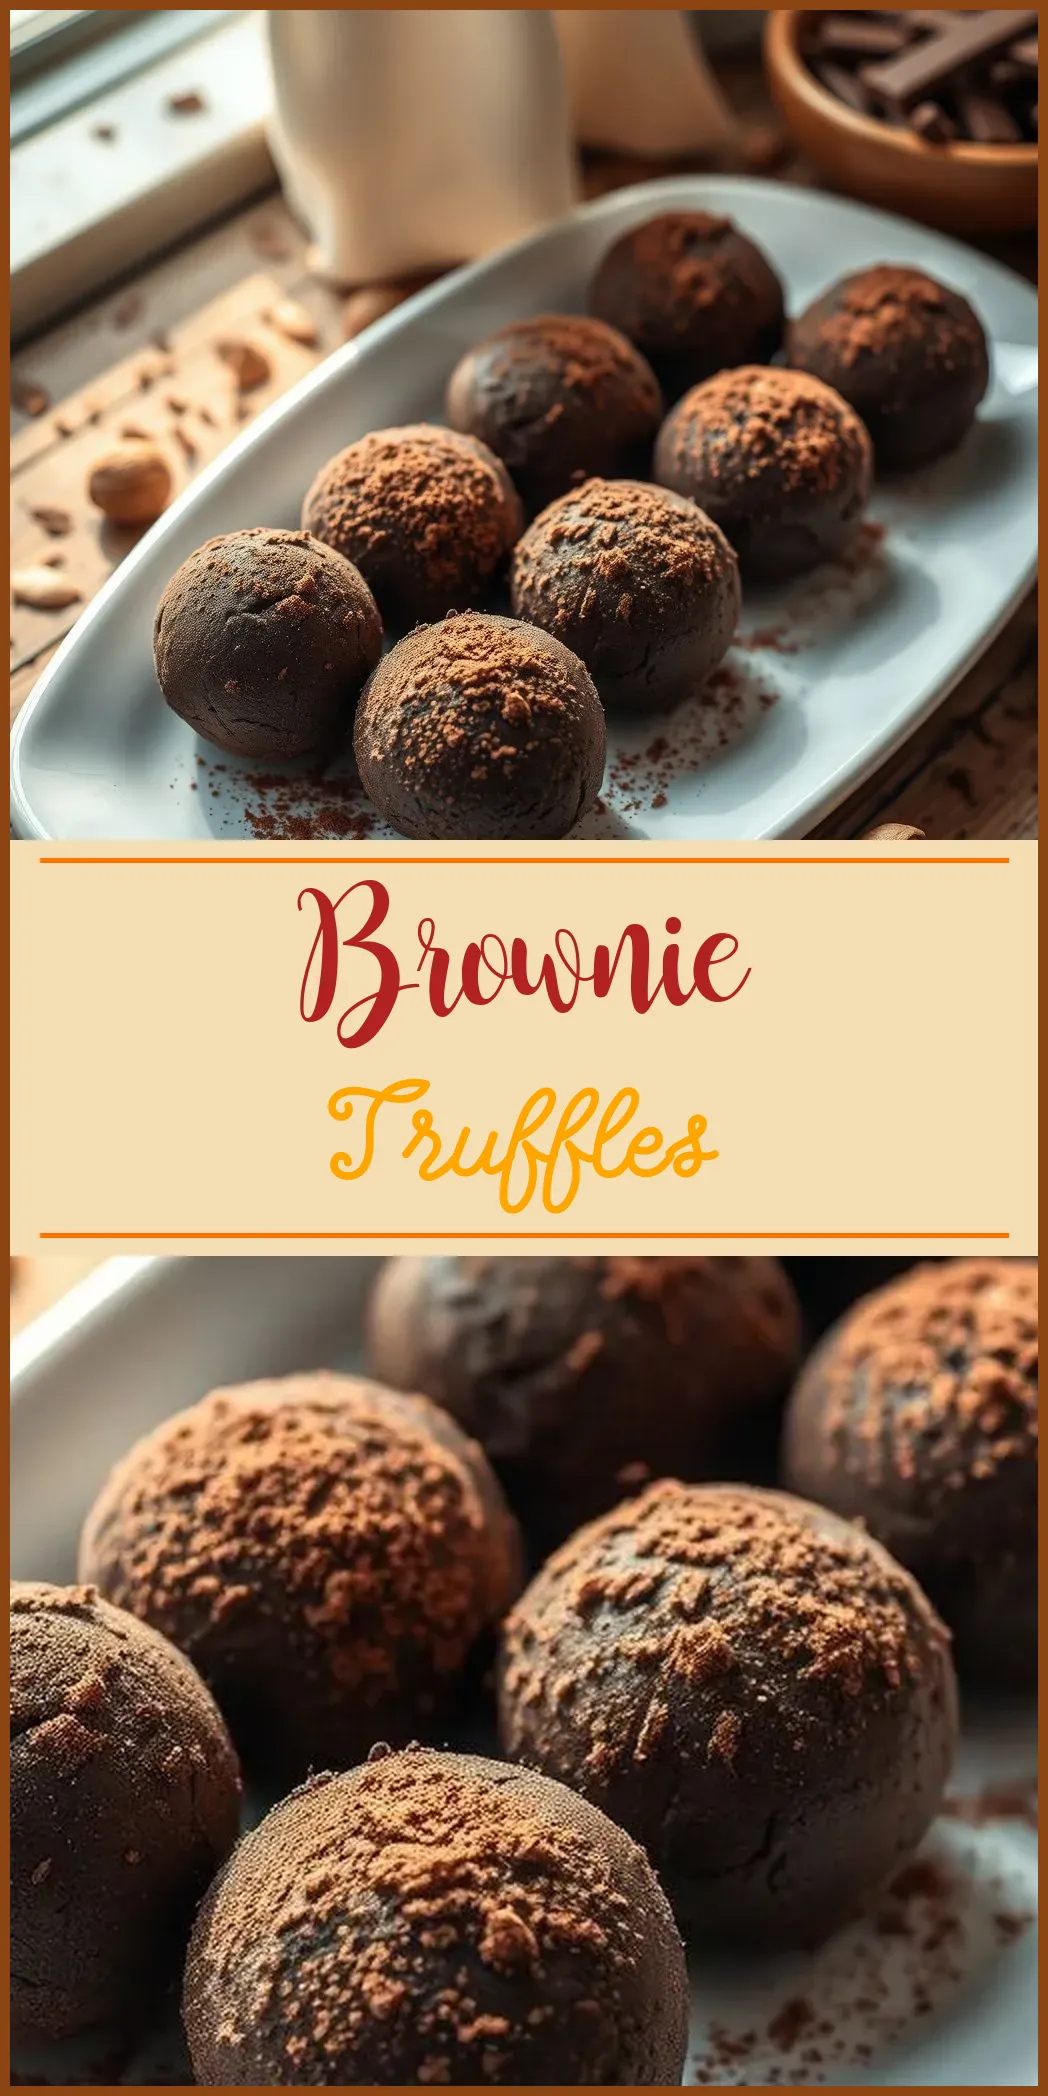
Brownie truffles offer a perfect blend of fudgy brownies and rich chocolate coating. They are an irresistible dessert that brings comfort and indulgence in every bite. In this article, we will explore the art of making brownie truffles. We take you through every step—from preparation to presentation—ensuring a comprehensive guide that is both engaging and practical.
Why Choose Brownie Truffles?
Brownie truffles have become a favorite treat among chocolate lovers. Their appeal lies in their simplicity and versatility. You might ask, what makes these little treats so special? Let’s look at some key points:
- Decadence in Every Bite: Brownie truffles are rich, fudgy, and satisfy your sweet tooth.
- Effortless Preparation: The recipe uses a boxed brownie mix as a base, making the process accessible to everyone.
- Endless Customization: Add your favorite mix-ins or toppings to suit your personality. From nuts to sea salt, the options are endless.
- Perfect for Parties: Their bite-sized size makes them ideal for buffets, potlucks, and holiday gatherings.
In essence, brownie truffles are a versatile dessert that fits every occasion—from a quick weekday treat to an elegant party dessert.
Key Ingredients
The success of your brownie truffles depends largely on the quality and combination of ingredients used. Here is a breakdown of the primary components:
Fudgy Brownies
You can use either a boxed brownie mix or a homemade recipe. The key is to aim for a fudgy texture, which will later meld beautifully with cream cheese.
– Base Ingredients: Oil, water, eggs, and the brownie mix of your choice.
– Tip: Bake the brownies until they are just set. Underbaking slightly will help retain that fudgy texture.
Cream Cheese
Cream cheese serves as the binding element that turns crumbled brownies into smooth, delectable truffle centers.
– Texture: Ensure it is soft enough to blend evenly.
– Tip: Use full-fat cream cheese for a richer flavor.
Chocolate Coating
A melted chocolate coating envelopes the truffle, providing a crisp outer shell that contrasts with the soft center.
– Types to Consider: Semi-sweet chocolate is classic. However, milk, dark, or white chocolate can also be used depending on your taste.
– Additional Ingredient: Coconut oil can be added to the chocolate. It gives the coating a glossy finish and a smooth texture that clings perfectly to the brownie balls.
Optional Mix-ins and Toppings
Customizing your brownie truffles elevates the dessert further. Consider:
– Mix-ins: Chopped nuts, toffee bits, mini marshmallows, or flavored chips.
– Toppings: Sea salt, sprinkles, crushed candy canes, or shredded coconut.
– Tip: Add these extras after dipping the truffles in chocolate for enhanced texture and flavor.
How to Make Brownie Truffles
Creating these delightful treats is straightforward. Follow these detailed steps to ensure success:
Step 1: Bake and Cool the Brownies
- Preparation: Use your choice of brownie mix to bake a batch of fudgy brownies. Follow the instructions on the box but consider underbaking slightly for extra moisture.
- Cooling: Allow the brownies to cool completely on a wire rack. This ensures the texture is ideal for crumbling and mixing.
Step 2: Blend Brownies with Cream Cheese
- Crumb Formation: Crumble the cooled brownies into a large bowl. Small, fine crumbs work best for a smooth texture.
- Mixing: Add softened cream cheese to the crumbles. Use a spatula or a mixer to combine thoroughly. The mixture should form a pliable dough-like consistency.
- Chilling: Cover the bowl with plastic wrap and refrigerate for an hour. This makes the mixture easier to roll into balls.
Step 3: Form the Truffle Balls
- Portioning: Scoop out about one tablespoon of the chilled mixture.
- Rolling: Roll each portion between your palms until you form smooth, 1-inch diameter balls.
- Chill: Place the rolled balls back in the fridge for at least 30 minutes. Chilling firms them up for the dipping stage.
Step 4: Prepare the Chocolate Coating
- Melting: In a microwave-safe bowl, combine chocolate chips with a small amount of coconut oil if desired. Microwave in short bursts (20-30 seconds), stirring in between. Continue until the mixture is smooth.
- Consistency: The dipping liquid should be fluid enough to coat the truffles evenly.
Step 5: Dip and Finalize
- Dipping: Use a fork or a toothpick to dip each truffle into the melted chocolate. Ensure each truffle gets a complete, even coat.
- Toppings: If desired, sprinkle toppings such as crushed nuts or a pinch of sea salt while the chocolate is still wet.
- Setting: Place the dipped truffles on a parchment-lined baking sheet. Refrigerate again to allow the chocolate to set thoroughly.
Tips and Tricks for Perfection
Achieving the best brownie truffles is a blend of art and science. Here are a few extra tips to ensure your results are consistently excellent:
Brownie Base
- Fudgy Texture: Underbake your brownies slightly to maintain moisture. A moist brownie base creates a better truffle center.
- Quality Matters: Use a trusted brand or a cherished family recipe. Consistency in your base helps achieve reliable results.
Cream Cheese Consistency
- Softening: Let the cream cheese come to room temperature before mixing. If needed, beat it with a mixer for a smoother blend.
- Balance: Aim for a balance between brownie crumbles and cream cheese. Too much cream cheese can overpower the intense chocolate flavor.
Chocolate Coating
- Temperature Control: Avoid overheating the chocolate. Over-melting can cause the chocolate to seize, affecting the final texture.
- Enhancements: Experiment with adding a teaspoon of coconut oil. It not only improves the shine but also makes dipping easier.
Customization
- Mix-ins: Incorporate ingredients such as chopped pecans, toffee bits, or peanut butter chips into the brownie and cream cheese mixture. This option personalizes each batch.
- Toppings: After dipping, decorate with a light dusting of powdered sugar, a few mini chocolate chips, or a pinch of coarse salt. Toppings add a finishing touch and visual appeal.
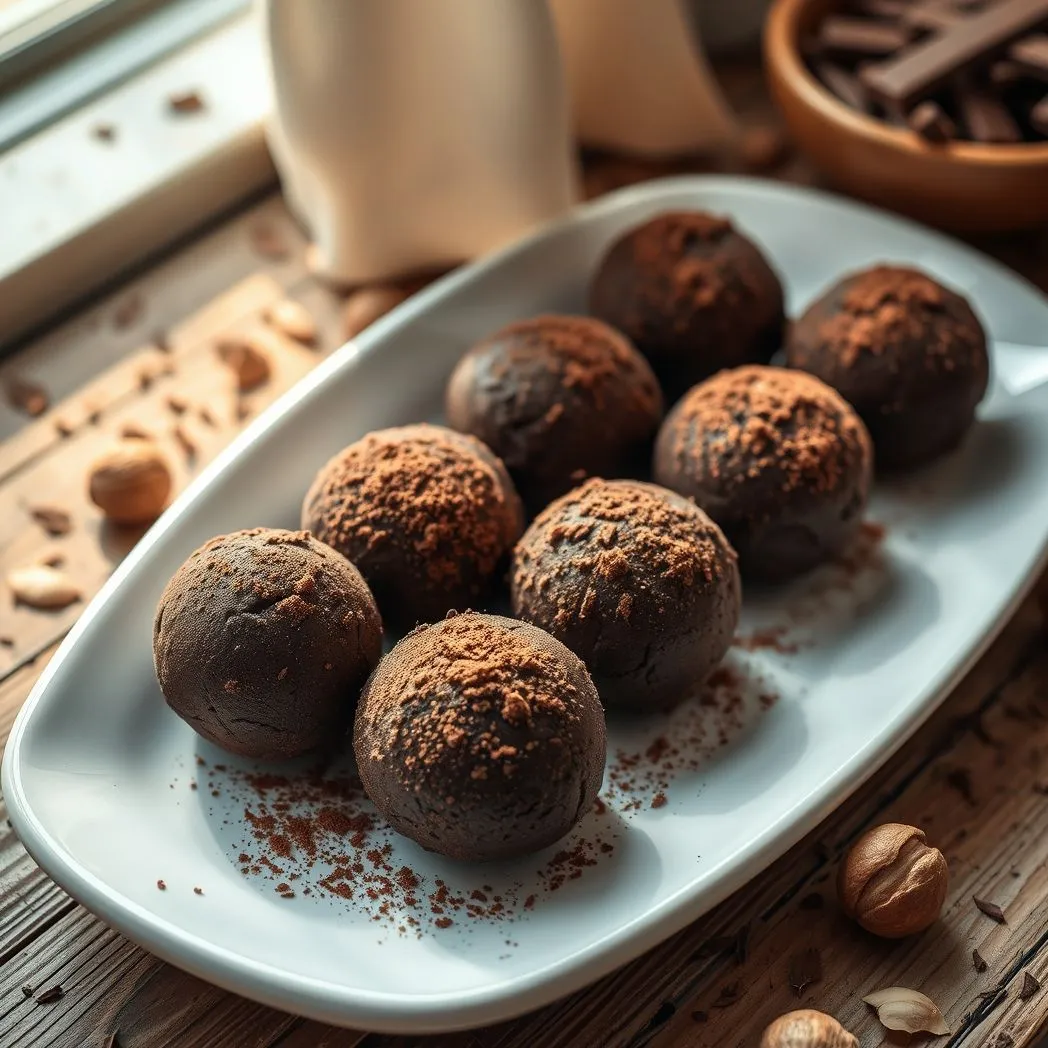
Presentation
- Serving Ideas: Brownie truffles are ideal when arranged on a decorative tray or in a tiered dessert stand.
- Occasions: They work wonderfully for birthdays, holiday celebrations, or a casual afternoon treat. Their bite-sized nature makes them easy to serve at any event.
Variations to Try
Once you master the basic technique, experimenting with variations can be fun. Here are a few ideas:
White Chocolate Truffles
- Swap the Coating: Replace semi-sweet chocolate with white chocolate. The sweetness pairs perfectly with a tangy addition, like lemon zest.
- Customization: Consider adding a touch of vanilla extract to the cream cheese mix.
Red Velvet Brownie Truffles
- Color Pop: Use red velvet brownies as your base. The vibrant color makes the truffles as visually appealing as they are tasty.
- Enhancements: Complement with a cream cheese frosting center for an extra layer of flavor.
Nutty Brownie Truffles
- Crunch Factor: Add finely chopped nuts into the brownie mixture before rolling. This adds a crunchy texture contrasted with the smooth chocolate exterior.
- Nut Variations: Walnuts, pecans, or almonds work well. Ensure the nuts are lightly toasted to release their natural oils and enhance their flavor.
Storage and Serving
Proper storage ensures your brownie truffles remain fresh and delicious for days. Here are some tips on how to store and serve them:
Refrigeration
- Method: Transfer fully set truffles to an airtight container.
- Duration: Store in the fridge for up to one week.
- Tip: Allow chilled truffles to come to room temperature before serving to maximize flavor and texture.
Freezing
- Preparation: Arrange the truffles in a single layer on a parchment-lined tray.
- Freezing: Freeze until solid. Then transfer them to a freezer-safe container or ziplock bag.
- Usage: The truffles can be frozen for 1 to 3 months. Thaw in the refrigerator overnight when ready to serve.
Enjoying Your Brownie Truffles
Serving brownie truffles is as much about presentation as it is about taste. Here are some creative ideas for serving these delectable treats:
- Party Platter: Arrange them on a decorative tray. Add a few fresh berries or mint leaves for a vibrant contrast.
- Gift Boxes: Wrap them in colorful cellophane bags for a personalized touch when gifting.
- Dessert Table: Feature them alongside other desserts for a diverse and appealing dessert table.
- Individual Servings: Place one or two truffles on small dessert spoons or in mini cups for an elegant presentation.
Brownie truffles are more than just a dessert. They represent a craft that combines simplicity with indulgence. With a few basic ingredients and a bit of creativity, you can transform everyday brownies into an extraordinary dessert that dazzles both the eyes and the taste buds.
Throughout this guide, we have explored the journey from baking fudgy brownies to adding a luxurious, chocolate coating. We have also discussed techniques to achieve the ideal consistency and tips for creative variations. With semantically related keywords like decadent dessert, indulgent chocolate treat, fudgy texture, and bite-sized sweets, you now have a well-rounded understanding of making brownie truffles that offer both versatility and quality.
Whether you are a seasoned baker or a novice in the kitchen, these brownie truffles invite you to explore a world of flavors and textures. Enjoy the process and experiment with mix-ins and toppings to make the recipe truly your own. Each step is an opportunity to enhance your baking skills and create a dessert that will surely be the star at your next gathering.
Remember, each batch is an adventure in taste. Embrace the fun of making, tasting, and sharing these delightful treats. Make your checklists, prepare your ingredients, and dive into the pleasurable process of making brownie truffles. Happy baking, and enjoy every bite!
Brownie Truffles
Chocolate lovers, this one’s for you! These impossibly decadent brownie truffles require just three ingredients. They need about 15 minutes of hands-on prep.
Ingredients
- 4 ounces cream cheese, softened
- 2 teaspoon coconut oil, optional
- 1 (18-20 ounce) box fudgy brownie mix (plus the ingredients listed on the box
- 12 ounces semi-sweet chocolate chips
Instructions
- Prepare the brownie mix according to package directions in a 9x13-inch pan. Cook the brownies until the edges are firm. The center should be slightly undebaked and fudgy. Set aside to cool completely.
- Transfer the cooled brownies to a large bowl. Leave out any hard edges. Add the softened cream cheese. Mix together with your hands or a spatula until well combined.
- Line a baking sheet with parchment paper. Scoop the brownie mixture into 1-inch balls. Place the balls on the prepared baking sheet. Freeze for 30 minutes until firm.
- In a microwave-safe bowl, melt the chocolate chips. If using, add the oil. Heat in 30-second intervals. Stir between each spin until smooth.
- Place a truffle on a fork. Dip it into the melted chocolate. Tap off the excess. Then, place it back on the baking sheet. Immediately top with sprinkles, sea salt, or other toppings if desired.
- Repeat the process until all the truffles are coated. Then, refrigerate them until the chocolate is set, which takes about 15 minutes. Serve and enjoy!