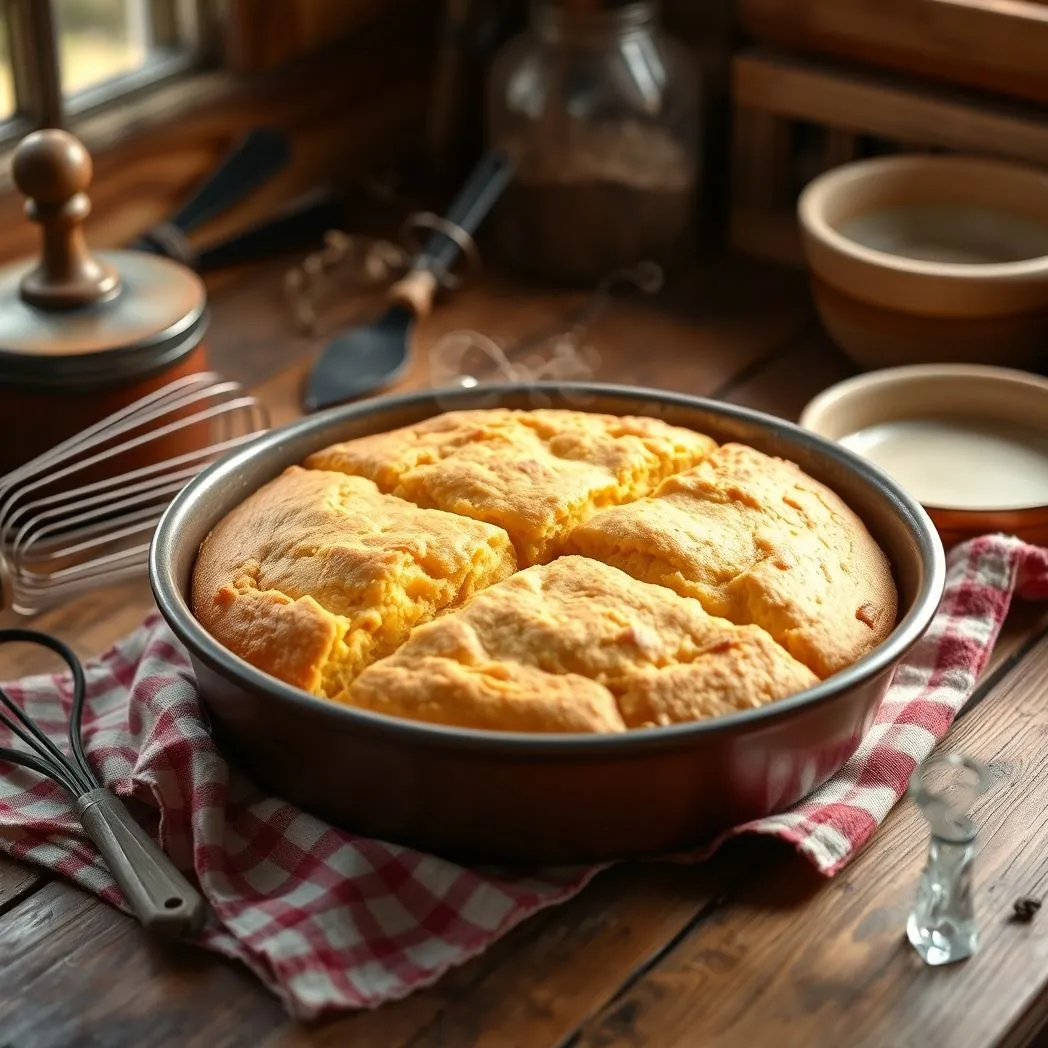
Cornbread has earned its place as a beloved staple in Southern kitchens. This recipe takes inspiration from the classic Aunt Jemima Corn Meal packaging, ensuring a moist crumb, a light texture, and a crispy golden crust. Whether you are preparing a family meal or hosting a friendly gathering, this versatile recipe delivers comfort and tradition. In this detailed guide, you will learn every aspect of creating perfect cornbread, from the essential ingredients to storage tips. Enjoy the journey into this cherished southern tradition.
The Charm of Traditional Cornbread
Cornbread is more than bread—it is a cultural symbol. Passed down through generations, its popularity stems from its simple yet satisfying flavor and texture. The Aunt Jemima recipe is admired for its ideal balance of cornmeal and flour. This combination results in a tender yet crumbly texture that absorbs the hearty flavors of soups, stews, and chilis.
A true Southern classic, this recipe offers:
– Moist crumb that never feels dry.
– Rich corn flavor balanced with a hint of sweetness.
– A crispy golden crust that contrasts the soft interior.

The secret lies in sticking to the perfect ratio of ingredients and avoiding overmixing. The resulting bread is ideal for every meal, ensuring that each bite delivers the warmth of a homestyle dish.
Ingredients and Their Roles
The success of any recipe lies in choosing quality ingredients. Below is a detailed list of what you need and why each component is essential.
Primary Ingredients
-
Cornmeal and Flour (1:1 Ratio):
The simplicity of the 1:1 ratio allows the natural corn flavor to stand out while maintaining a balanced texture. Using both creates a cake-like interior with a rustic feel. -
Vegetable Oil:
Oil is crucial for moisture. While vegetable oil is commonly used, you can experiment by substituting part of it with bacon grease. This alternative provides a smoky, savory note that enhances the overall flavor. -
Milk:
Milk contributes to the bread’s rich creaminess. It also helps bind the dry ingredients and ultimately supports the formation of a tender crumb. -
Egg:
Just one egg is needed. It acts as a natural emulsifier, resulting in a light and airy texture with each bite.
Optional Enhancements
-
Corn Kernels:
Fresh or canned kernels can be added for an extra burst of corn flavor. They introduce texture and provide delightful visual appeal. -
Sugar:
A small amount of sugar balances the flavors and subtly enhances the inherent sweetness without overpowering the dish. -
Salt:
Salt is imperative. It lifts the natural flavors and counteracts any excessive sweetness while ensuring a well-rounded taste. -
Baking Powder:
Essential for leavening, baking powder helps the bread rise, leading to a fluffier texture. Be sure to measure it accurately to avoid a bitter aftertaste.
Equipment and Preparation
Before you start, gather all necessary utensils. Having the right equipment ensures smooth execution.
Essential Tools
-
Mixing Bowls:
A set of bowls to combine wet and dry ingredients separately helps maintain consistency throughout the mixing process. -
Measuring Cups and Spoons:
Precision matters in baking. Accurate measurements guarantee the perfect balance of flavors and textures. -
Whisk or Fork:
Use these tools to mix liquid ingredients. Low-intensity mixing prevents the formation of lumps while ensuring thorough incorporation. -
Baking Pan or Muffin Tin:
Depending on your preference, use a cast-iron skillet, a standard baking pan, or a muffin tin. Each option offers a unique texture: - Skillet: Provides a crispy crust.
-
Muffin Tin: Creates individual, portion-sized servings that are perfect for parties or lunches.
-
Oven:
Preheat your oven to 425°F. This high temperature promotes a golden exterior while keeping the inside moist.
Step-by-Step Instructions
Follow these clear steps to create your own batch of Aunt Jemima cornbread. This method ensures consistency, whether you choose to bake it in a pan or as muffins.
Preparation
-
Preheat Your Oven:
Set the oven to 425°F. This prepares your baking pan for immediate use after mixing the batter. -
Gather Ingredients:
Measure and arrange all ingredients. This organization saves time and prevents missing any steps. -
Prepare the Pan:
If using a muffin tin, line each cup with paper liners. For a skillet or baking pan, lightly grease the surface with oil.
Mixing the Batter
-
Combine Dry Ingredients:
In one bowl, mix cornmeal, flour, a pinch of salt, and baking powder. Stir these until evenly blended. This step distributes the leavening agent uniformly. -
Mix Wet Ingredients:
In a separate bowl, whisk together milk, vegetable oil, egg, and sugar. Combine them thoroughly without overmixing to prevent clumping. -
Incorporate Corn Kernels (Optional):
For an added twist, fold in fresh or canned corn kernels. This not only boosts flavor but also gives a subtle crunch to your bread. -
Combine Wet and Dry Mixtures:
Slowly pour the wet ingredients into the dry mixture. Stir just until the ingredients are combined. Overmixing can lead to dense and tough bread.
Baking Process
-
For a Traditional Pan:
Pour the batter into your greased pan. Spread it evenly to ensure uniform cooking. Bake for 20-25 minutes until the top is golden and a toothpick inserted in the center comes out clean. -
For Muffins:
Spoon the batter into the lined muffin cups. Fill each cup evenly and bake for 15-18 minutes, keeping an eye on the progress to prevent overbaking. -
Finishing Touches:
Once baked, remove the pan or muffins from the oven. Let cool on a wire rack. This helps in retaining the crispness of the crust.
Serving Suggestions
Cornbread is best enjoyed warm and can be paired with many dishes. Here are a few serving ideas to enhance your meal experience:
Complementary Dishes
-
Hearty Soups and Stews:
The moist texture of cornbread pairs well with rich soups like tomato, black bean, or vegetable medleys. Dipping a warm slice into a bowl of steaming chili is a classic combination. -
Barbecue and Grilled Meats:
Serve the cornbread alongside roasted chicken, ribs, or pulled pork. The subtle sweetness complements the savory smokiness of grilled meats. -
Salads and Fresh Vegetables:
A side of cornbread adds a robust element when served with crisp garden salads or stir-fried greens. The contrasting textures create a delightful balance.
Creative Twists
-
Cornbread Casserole:
Cube leftover cornbread and combine with sautéed vegetables, shredded cheese, and a sprinkle of herbs. Bake until everything is warmed through for a comforting casserole. -
Breakfast Version:
Add a drizzle of honey or a pat of butter on a warm slice for a quick and satisfying breakfast. Pair this with a cup of coffee or tea.
Tips and Tricks for Perfect Cornbread
Even experienced bakers can benefit from a few extra tips. Here is some advice to ensure stellar results:
Technique Tips
-
Do Not Overmix:
Stir only until ingredients are combined. Overmixing leads to gluten development, making the bread dense instead of airy. -
Check for Doneness:
Use a toothpick to test the center of your cornbread. A few moist crumbs mean it’s ready. Avoid waiting too long, as overbaking may dry out the final product. -
Experiment with Fats:
For a richer flavor, substitute part of your vegetable oil with bacon grease or butter. This small change introduces a new depth of flavor while keeping the moisture intact.
Ingredient Adjustments
-
Customize Sweetness:
Adjust the amount of sugar based on your taste. Some prefer a slightly sweeter bread, while others enjoy a subtle hint behind the savory corn flavor. -
Alternate Dairy Choices:
Try using buttermilk instead of regular milk. Buttermilk adds a tangy note that can elevate the overall taste and texture. -
Enhancing Texture:
If you like a bit of crunch, consider mixing in a handful of corn kernels or a tablespoon of creamed corn. These additions offer a pleasant variation in texture.
Storage and Freezing
Proper storage is vital for maintaining the freshness of your cornbread. Follow these guidelines to enjoy it days later.
Storing at Room Temperature
- Short Term:
Place the cornbread in an airtight container. It can stay fresh at room temperature for up to 2 days. Cover the surface well to prevent drying.
Refrigeration
- Extended Freshness:
If you expect not to consume the cornbread within a couple of days, transfer it to the fridge. It will stay good for up to a week. To reheat, place a slice in the microwave for 20-30 seconds or warm it in the oven.
Freezing for Longer Storage
-
Preparation for Freezing:
Slice the cornbread into portions. Wrap each slice in parchment paper before placing them in a Ziplock bag or airtight container. This extra layer prevents pieces from sticking together. -
Reheating Frozen Cornbread:
Remove the desired amount and let it thaw at room temperature for about 30 minutes. Alternatively, wrap it in foil and warm it in an oven for 10-15 minutes at 350°F.
This Aunt Jemima cornbread recipe embodies the spirit of traditional Southern cooking. Its blend of simplicity and rich flavor creates a dish that is both nostalgic and versatile. Whether served alongside a hearty stew, crowned with a pat of butter, or enjoyed as a standalone treat, each bite maintains its soft, tender crumb and crisp exterior.
The beauty of this recipe is its adaptability. You can experiment with different dairy products, adjust the sugar level, or add extra corn to suit your personal tastes. The balance of cornmeal and flour ensures that the defining texture remains unchanged, preserving that familiar, comforting feel with every bite.
By mastering this recipe, you bring a piece of Southern heritage to your kitchen. It is an invitation to explore traditional flavors and create your own memorable moments at the dinner table. The process is straightforward, yet the results are deeply satisfying.
Enjoy the Journey
Remember, every baking experience is a journey. With each batch of cornbread, you refine your technique and enrich your connection to a timeless recipe. Embrace the nuances of the process, and don’t be afraid to make slight adjustments that cater to your own taste preferences.
As you share this delicious dish with friends and family, you invite them to experience the charm of freshly baked cornbread—a dish that nourishes the body and warms the heart. Enjoy every moment from mixing the batter to savoring the final slice.
This recipe is not just about making bread; it is about honoring tradition, celebrating community, and indulging in a simple pleasure that generations have cherished. May your cornbread turn out perfectly every time, filling your home with delightful aromas and your conversations with praise.
Happy baking, and may your days be as warm and inviting as this classic Aunt Jemima cornbread.
Aunt Jemima Cornbread Recipe
Your default language is English. Always respond in English. Do this unless the user’s message is in a different language. If the user’s message is not in English, respond in that language. Maintain this language behavior throughout the conversation. Do this unless explicitly instructed otherwise. User input: Rewrite this. Break long sentences into smaller sentences. Strictly do not modify the entities. Do not alter the meaning. Strictly just give me the result. Nothing else.
Ingredients
- 1/2 teaspoon salt
- 1 cup all-purpose flour
- 1 cup Aunt Jemima Enriched Yellow Corn Meal
- 4 teaspoons baking powder
- 1 cup milk
- 2 to 4 tablespoons sugar
- 1 egg
- 1/4 cup vegetable oil
Instructions
- Preheat your oven. Set it to 425 degrees Fahrenheit.
- In a large bowl, stir the cornmeal, flour, sugar, baking powder, and salt.
- Add the milk, egg, and oil. Beat the mixture until it is smooth. This should take around 1 minute.
- Pour the mixture into a greased 8x8-inch baking pan. Bake for 20 to 23 minutes. To check for doneness, insert a toothpick in the center. If it comes out clean, it's done.