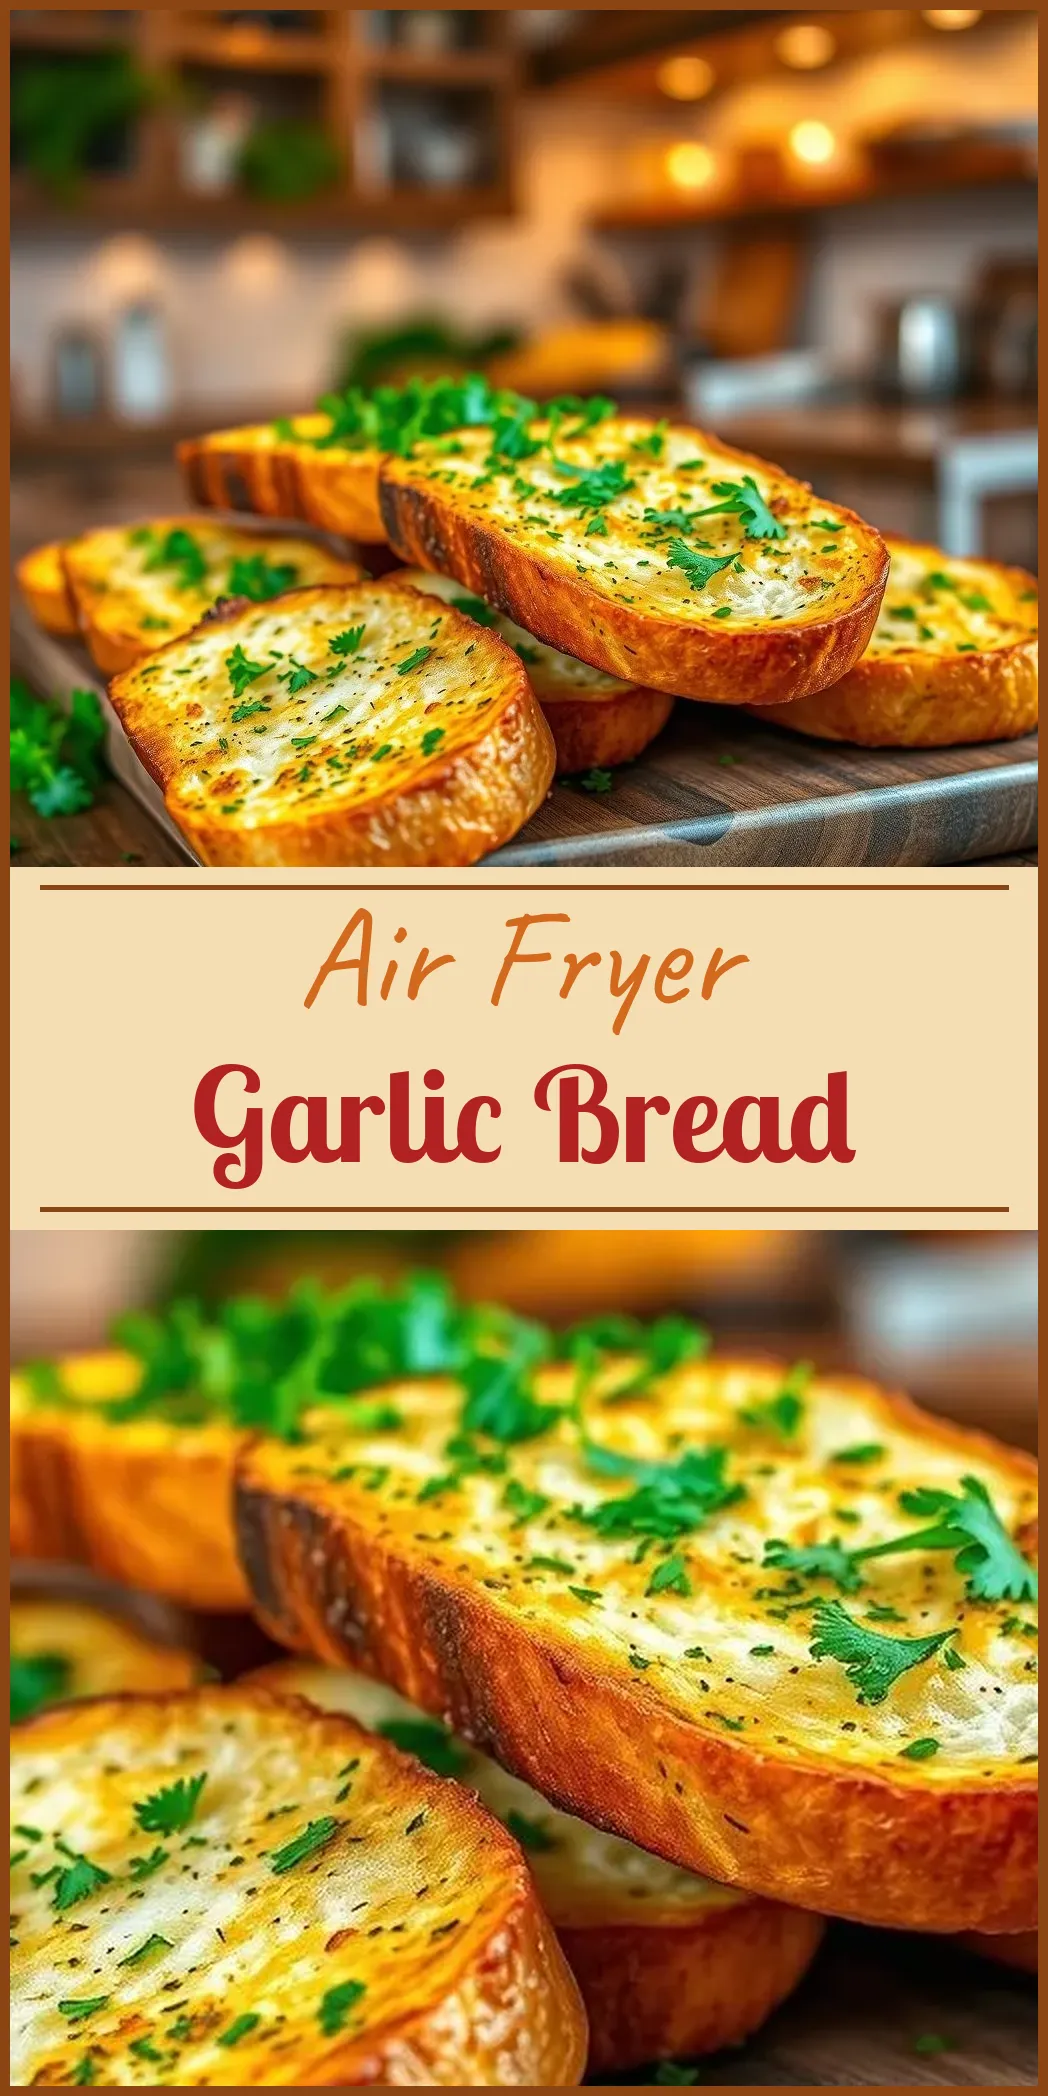
Air Fryer Garlic Bread is a quick, tasty treat that brings a gourmet twist to an everyday favorite. This recipe transforms a simple loaf into a golden, savory delight with minimal effort. In this article, I will walk you through every aspect of making air fryer garlic bread, from selecting the right ingredients to fine-tuning your technique. You’ll also learn some handy tips and variations to customize the recipe to your taste.
Why You’ll Love This Recipe
Air fryer garlic bread is all about flavor and convenience. Here are some compelling reasons to try it:
- Speed: Ready in less than 10 minutes, it is perfect for busy weeknights.
- Crisp Texture: The air fryer creates a perfectly crisp exterior while keeping the inside soft and buttery.
- Versatility: It pairs wonderfully with pasta, salads, proteins, or even as a savory snack on its own.
- Customizable: You can adjust the garlic intensity, add various cheeses, or experiment with herbs for a unique twist.
This recipe is designed to cater to both novice cooks and experienced chefs who want a reliable side dish or appetizer with minimal cleanup.
Equipment and Ingredients
Before getting started, make sure you have the right tools and fresh ingredients.
Equipment
- Air Fryer: Essential for achieving that perfect crisp finish.
- Mixing Bowl: For preparing the garlic butter.
- Knife: To slice the bread evenly.
- Measuring Spoons: To portion out your spices and herbs.
- Spatula: To help spread the butter mixture smoothly.
Ingredients
I recommend using high-quality ingredients for the best results:
- Bread: A fresh French baguette or Italian bread works best. Choose a loaf that is soft inside with a firm crust.
- Butter: Use salted butter at room temperature. If you prefer less salt, unsalted works too.
- Garlic: Fresh garlic cloves deliver an intense, authentic flavor. If you’re short on time, garlic powder can be substituted, but fresh is ideal.
- Herbs: Dried parsley is convenient, though fresh parsley can enhance the taste and presentation.
- Cheese (Optional): Parmesan is a popular choice, but feel free to experiment with mozzarella, Asiago, or even cheddar.
- Red Pepper Flakes (Optional): To add a subtle kick of spice.
- Salt and Pepper: To taste and enhance all the flavors.
How to Make Air Fryer Garlic Bread
Follow these clear steps to create your garlic bread masterpiece:
Step 1: Preheat and Prepare
Begin by preheating your air fryer to 350°F (175°C). This ensures that the toaster-like heat circulates evenly from the start.
Step 2: Create the Garlic Butter Mixture
In a mixing bowl, combine your room-temperature butter with minced fresh garlic. Add a generous pinch of dried parsley, a small amount of Parmesan (if using), and red pepper flakes. Mix thoroughly until the ingredients blend into a smooth, spreadable butter. Here is a quick checklist:
– Beat the butter until soft.
– Stir in minced garlic.
– Mix in dried parsley, Parmesan cheese, and red pepper flakes.
– Season with salt and pepper.
Step 3: Slice and Spread
Slice the baguette into 1-inch thick pieces. Lay the slices on a clean work surface. Evenly spread the garlic butter mixture on each slice, ensuring a generous layer on the top. This will create a delightful crust as it bakes.
Step 4: Air Fry to Perfection
Place the slices in the air fryer basket in a single layer. It’s important not to overcrowd the basket; ensure there is ample space between each slice. Air fry them for about 3-4 minutes, or until the edges start to turn golden and the butter has melted into every crevice. Since air fryers vary, keep a close eye on the bread during the final minutes.
Step 5: Serve Warm
Remove the garlic bread from the air fryer. Let it cool for a minute before enjoying. The butter will have absorbed into the bread, and the garlic aroma will fill your kitchen.
Tips and Variations
Enhance your garlic bread recipe with these helpful suggestions:
Customization Options
- Extra Cheesy: Sprinkle additional Parmesan or your favorite cheese on top during the last minute of cooking.
- Herb Swap: Replace parsley with basil or oregano for a different herbal infusion.
- Vegan Option: Substitute plant-based butter and vegan cheese. Alternatively, try drizzling a bit of olive oil and a sprinkle of nutritional yeast.
- Garlic Intensity: Adjust the amount of garlic according to your taste. For a milder flavor, use fewer cloves or mix in garlic powder.
- Spicy Kick: Increase the red pepper flakes for more heat or add a dash of cayenne pepper.
Avoiding Overcrowding
- Single Layer Arrangement: Position the slices one by one, avoiding overlapping. This maximizes air circulation.
- Batch Cooking: If making a large quantity, cook in batches to maintain the crisp texture.
Monitoring Cooking Time
- Watch Closely: While the timer gives a guideline, different air fryers may cook faster or slower. Check your garlic bread after three minutes to prevent burning.
- Adjust Temperature: If you prefer a softer, less toasted crust, lower the temperature slightly and extend the cooking time.
Storing and Reheating Garlic Bread
Leftover garlic bread can be stored and enjoyed later if you follow these steps:
Storage
- Refrigeration: Place the slices in an airtight container or a zip-top bag. Refrigerated garlic bread should be eaten within five days.
- Freezing: Wrap the slices individually in plastic wrap. Store in a freezer-friendly bag. Frozen garlic bread can last for up to two months.
Reheating
- In the Air Fryer: Preheat the air fryer to 350°F (175°C) and heat the slices for 2-3 minutes.
- Alternative Methods: Use a conventional oven for a few minutes or toast the slices lightly in a toaster oven for convenience.
Serving Suggestions
This garlic bread is extraordinarily versatile. Here are some ideas for pairing it with complementing dishes:
- Pasta Dishes: Serve alongside spaghetti, lasagna, or a rich tomato basil sauce.
- Salads: Enjoy it with a fresh Caesar salad or a zesty mixed greens salad.
- Proteins: It pairs well with grilled chicken, shrimp, or fish, absorbing the savory juices.
- Soup: Use a piece of garlic bread to soak up every drop of hearty minestrone or creamy tomato soup.
- Bruschetta Base: Top the bread with diced tomatoes, a drizzle of balsamic glaze, and fresh basil for a delicious bruschetta.
Health and Nutritional Notes
While garlic bread is typically indulgent, you can tweak it for a healthier version:
- Whole-Grain Bread: Use a whole-grain variety for added fiber.
- Reduced Butter: Use a blend of light butter and olive oil to reduce calories.
- Herbal Infusion: Fresh herbs add flavor without extra sodium.
- Low-Sodium Options: Opt for unsalted butter and control the salt added during seasoning.
Balancing taste with nutrition is possible with these small tweaks, making your meal a bit lighter without sacrificing flavor.
Air Fryer Garlic Bread stands out as a simple yet delightful recipe that transforms ordinary bread into an irresistible snack or side dish. The process is quick, and the result is a burst of flavor with each bite. I encourage you to experiment with the recipe, adjusting apart from spices or cheeses to match your taste preferences. Whether you’re hosting a dinner party or preparing a quiet night in, this garlic bread is sure to impress.
By understanding the importance of ingredient quality, implementing simple techniques, and carefully monitoring cooking time, you can achieve consistent results every time you use your air fryer. Think of this recipe as a canvas for your culinary creativity. Enjoy the process, savor the flavors, and let your kitchen fill with the comforting aroma of garlic and herbs.
Air Fryer Garlic Bread is more than just a side dish. It’s an experience that elevates a familiar comfort food into something special. The crisp, buttery slices are perfect for sharing or for fueling your day with a bit of indulgence. Thank you for taking the time to explore this recipe. I hope you find it as enjoyable to make as it is to eat.
Happy cooking and bon appétit!

Air Fryer Garlic Bread
This air fryer garlic bread is quick and easy. It’s so crispy! The best part is that you can have it ready to go in less than 10 minutes.
Ingredients
- 3-4 cloves of garlic, minced
- 1/2 cup salted butter, softened
- Parmesan cheese, optional
- 1 French baguette (or 1 loaf of Italian bread)
- Red pepper flakes, optional
- 1 tbsp dried parsley
Instructions
- Preheat the air fryer. Set the temperature to 350°F (175°C).
- In a medium bowl, beat the soft butter. Add the minced garlic and dried parsley. If using, add the Parmesan cheese and red pepper flakes. Mix until well blended.
- Cut the baguette into 1-inch thick slices. Divide the butter mixture between each piece. Spread the butter mixture evenly over one side of each slice.
- Arrange the bread in a single layer in the air fryer basket. Cook for 3-4 minutes. Continue cooking until the bread is golden brown and crispy.
- Serve immediately. Enjoy.